Now that we have installed the chair railing, it is time to create our gallery wall! I have scoured Pinterest, trying to find ideas so that our wall would be perfect!! There were four main things I learned for my research that I would recommend for anyone creating their own gallery wall:
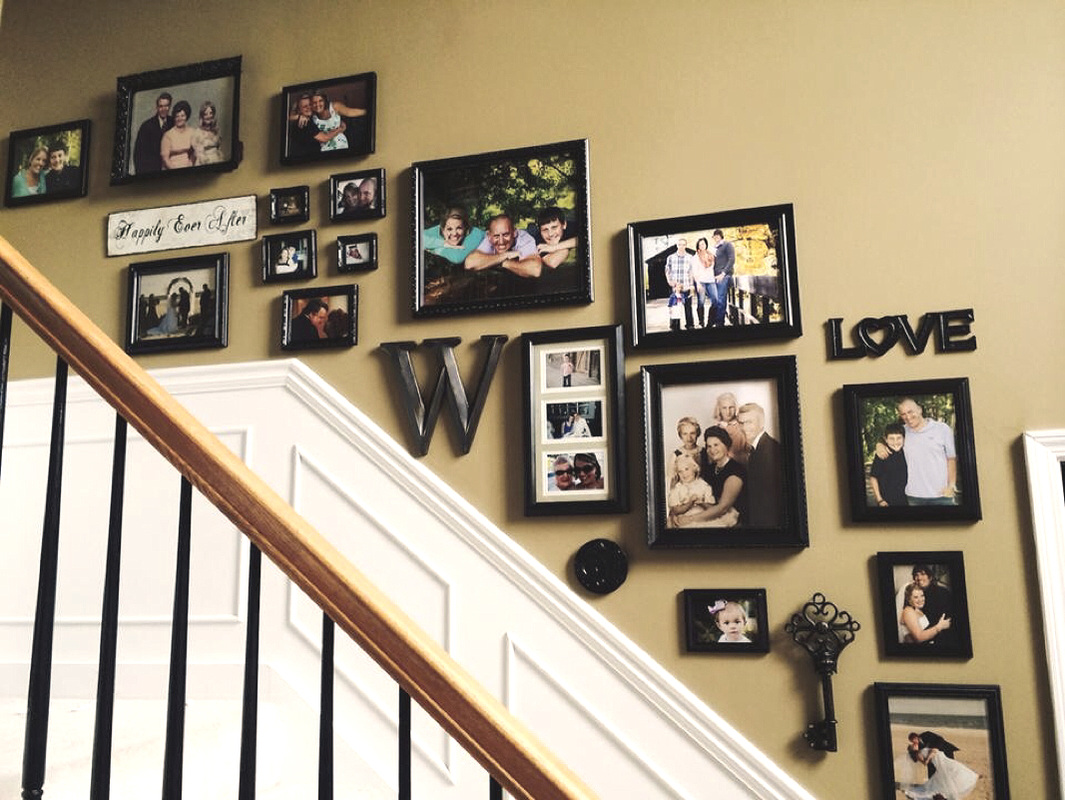
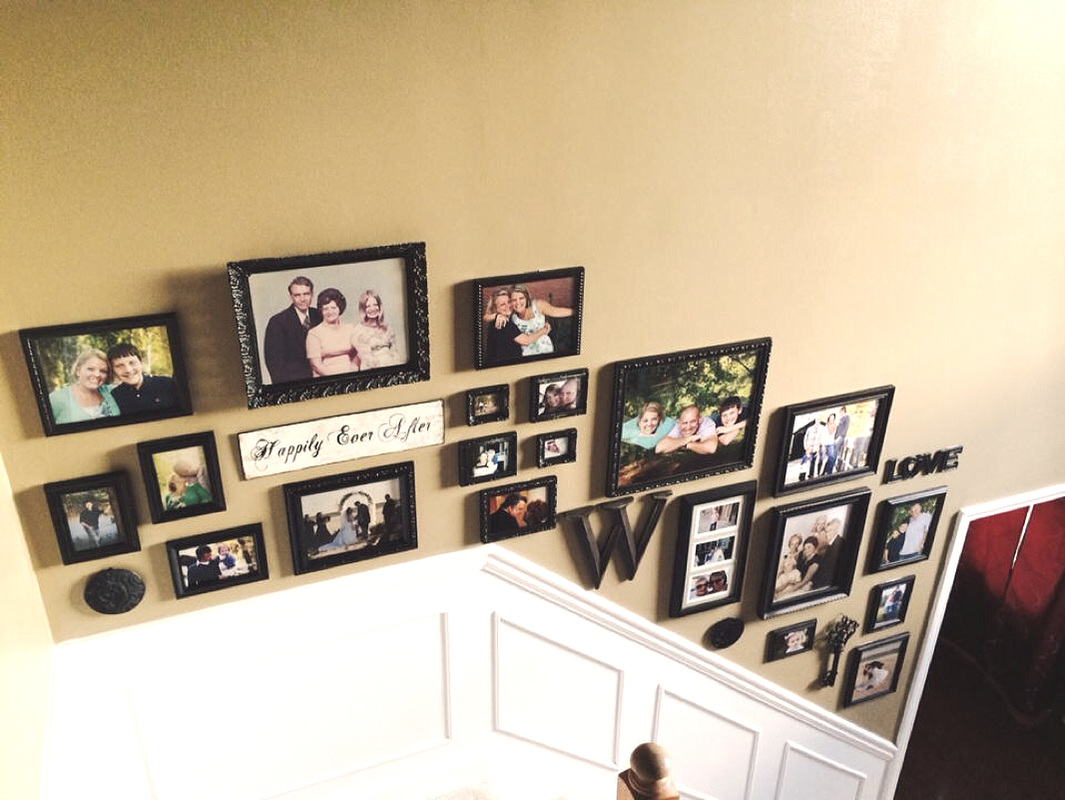
1. Begin collecting frames! We thrift-shopped and Goodwill-ed for weeks picking up beautiful frames that might not have been the best of colors, but had ornate designs. We learned to look at Goodwill during different weeks and find frames that were 50% off that week! We even found a large mirror with a frame that we HAD to have! We took out the mirror and used a tile cutter to cut the glass to the correct size. We chose a color we really liked (Rustoleum's Oil Rubbed Bronze) and spray painted all of the frames so that they matched.
2. Mixed Media Gallery Walls are the best! I love the combination of sayings, metalwork, knick-knacks, and frames all put together. We picked up smaller items like these to break up the wall, including our "W." These add character to your wall and break up the pictures. Once again, we spray painted some of these the same color, if they were going to clash with our frames, because we really like the consistent color which ties everything in together.
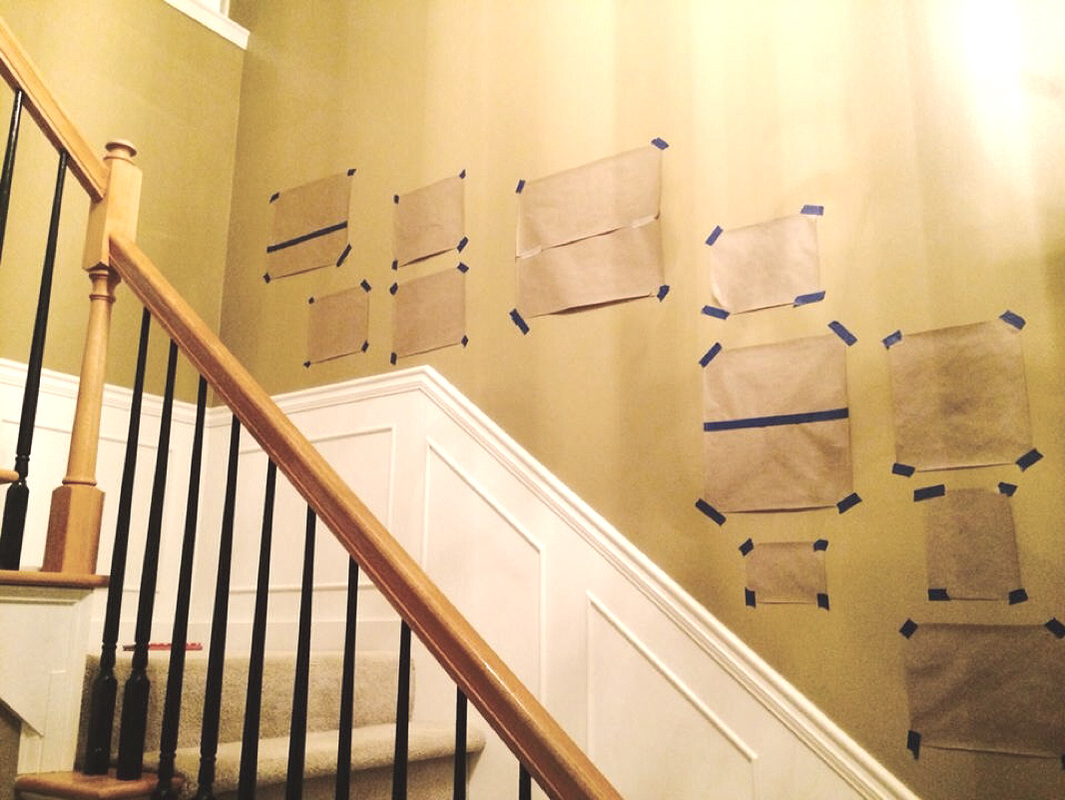
3. Trace your frames onto some sort of butcher paper. We numbered each tracing and then wrote that same number on the back of the frames. This allowed us to really play with the arrangement of the frames using painters tape before hanging them on the wall. This was a lifesaver because I am a visual person and I need to be able to rearrange and make sure that everything was balanced!
4. Use Command Strips!! Even after arranging using butcher paper and painters tape, I still needed to make changes. Thank goodness we used command strips because there would have been a few extra nail holes in the wal! Command Strips might be more expensive than nails, but they are totally worth the investment and hassle of cover nail holes!!

 RSS Feed
